Yes, a Vitamix can make nut milk! This high-powered blender is an excellent tool for creating smooth, fresh, and nutritious nut milk right at home. Whether you’re looking for a dairy-free alternative or simply want to enjoy a healthier homemade drink, the Vitamix makes the process easy and efficient. Its powerful motor and sharp blades break down nuts into a creamy consistency that rivals store-bought options.
In this guide, we’ll explore how to use a Vitamix for nut milk, its benefits, and tips for getting the best results. Let’s dive in to see why the Vitamix is the ultimate choice for making nut milk.
Benefits of Using a Vitamix for Nut Milk
Time Efficiency
One of the biggest advantages of using a Vitamix to make nut milk is its time efficiency. The powerful motor and sharp blades significantly reduce blending time compared to standard blenders. What usually takes several minutes can be achieved in under a minute with a Vitamix, ensuring your nut milk is ready to strain and enjoy in no time.
Retaining Nutrients
Homemade nut milk in a Vitamix preserves the nutrients in nuts, thanks to the high-speed blending process. Store-bought nut milk often contains preservatives and stabilizers that can compromise its nutritional value. With a Vitamix, you maintain the integrity of essential vitamins, minerals, and healthy fats, delivering a wholesome alternative to your diet.
Customization Options
You control the nut-to-water ratio, sweetness, and flavoring. For instance, follow this almond milk recipe using a Vitamix for a simple yet customizable approach to delicious almond milk.

Step-by-Step Guide to Making Nut Milk in a Vitamix
Making nut milk with a Vitamix is a straightforward process that guarantees fresh, creamy results. Here’s a detailed step-by-step guide to get you started:
Ingredients Needed
To prepare nut milk, gather the following ingredients:
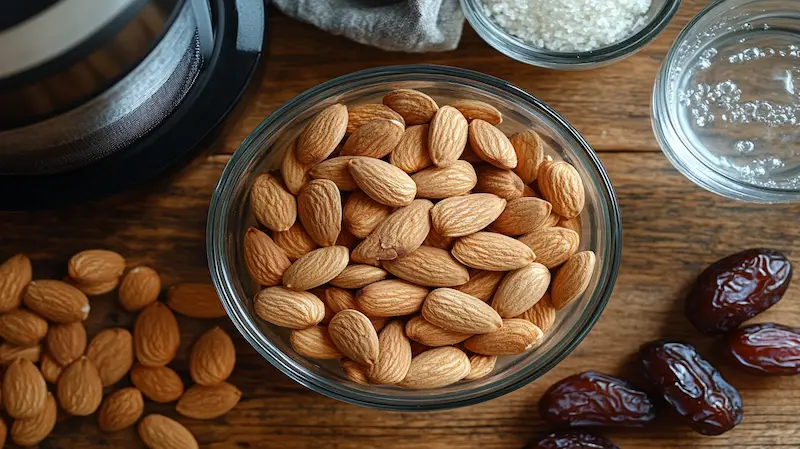
- Nuts: 1 cup of your preferred nuts (e.g., almonds, cashews, hazelnuts, or walnuts).
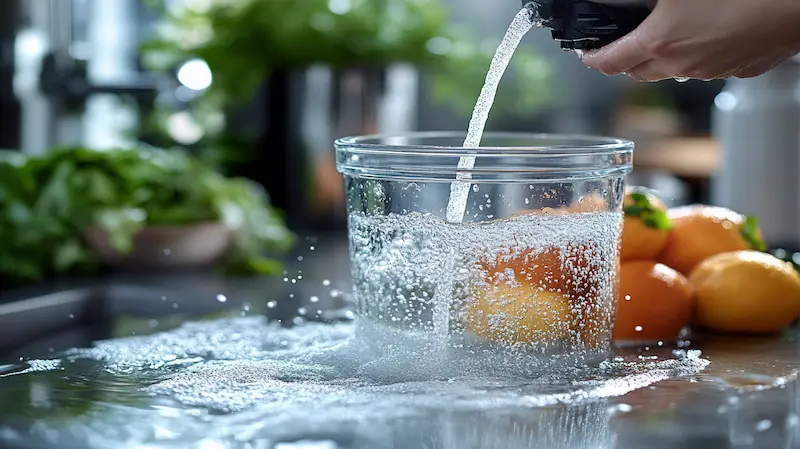
- Water: 4 cups of filtered water for blending, plus extra for soaking.
- Optional Sweeteners: Dates, honey, or maple syrup for a touch of sweetness.
- Optional Flavorings: A pinch of salt, a teaspoon of vanilla extract, or a dash of cinnamon for added taste.
Preparation Process
- Soak the Nuts:
Soaking is essential to soften the nuts and enhance the creaminess of your milk. Place the nuts in a bowl, cover them with water, and let them soak for at least 8 hours or overnight. This step also helps remove phytic acid, which can inhibit nutrient absorption. - Drain and Rinse:
After soaking, drain the water and rinse the nuts thoroughly under cold water to remove any residue.
Blending Tips
- Combine Ingredients in the Vitamix:
Add the soaked nuts and 4 cups of filtered water to your Vitamix. If desired, toss in a sweetener or flavoring of your choice. - Start Blending:
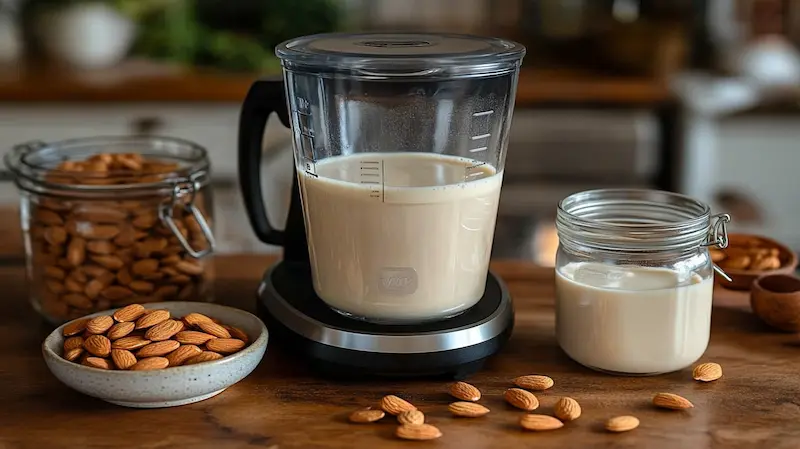
Begin on a low speed and gradually increase to the highest setting. Blend for 1–2 minutes or until the mixture is smooth and creamy. The Vitamix’s high-performance blades ensure there are no large nut particles left behind. - Check Consistency:
If you prefer thicker milk, reduce the water slightly. For a thinner consistency, add more water and blend again.
Straining Techniques
- Use a Nut Milk Bag:
For the smoothest milk, pour the blended mixture through a nut milk bag or a fine-mesh strainer into a large bowl. Squeeze the bag gently to extract all the liquid. - Alternative Straining Methods:
If you don’t have a nut milk bag, use a clean piece of cheesecloth or a thin dish towel. Be sure to strain thoroughly to separate the pulp. - Reserve the Pulp:
Don’t discard the leftover nut pulp! It can be repurposed for baking, smoothies, or as a topping for oatmeal.
For the blended mixture through a nut milk bag or cheesecloth to remove the pulp. Save the leftover pulp for recipes like these unique cookie recipes for a zero-waste approach.
Final Touches
- Taste Test:
Sample the milk and adjust sweetness or flavor as needed. You can blend it again briefly if you add more ingredients. - Transfer and Store:
Pour the finished nut milk into a clean, airtight container and store it in the refrigerator. It typically lasts 3–5 days when properly sealed.
Tips for the Perfect Nut Milk
Making nut milk in a Vitamix is simple, but there are a few tips and tricks that can elevate your homemade beverage to a professional level. By following these tips, you’ll ensure every batch is creamy, flavorful, and perfectly suited to your preferences.
Choosing the Right Nuts
The quality of your nut milk begins with the nuts you select.
- Freshness Matters:
Always opt for fresh, raw nuts. Avoid pre-roasted or salted varieties, as they can alter the flavor and consistency of your milk. - Organic Options:
Whenever possible, choose organic nuts to minimize exposure to pesticides or harmful chemicals. - Best Nut Choices:
While almonds and cashews are popular for their creamy texture, don’t hesitate to experiment with hazelnuts, macadamias, or even seeds like sunflower or hemp.
Experimenting with Flavors
Homemade nut milk allows for creative experimentation with flavors.
- Natural Sweeteners:
Add dates, agave syrup, or honey for a hint of sweetness without refined sugars. - Spices and Extracts:
Boost the flavor profile with vanilla extract, cinnamon, nutmeg, or even cocoa powder for a chocolaty twist. - Fruit Infusions:
Blend in a small portion of fruits like strawberries, bananas, or blueberries to create fruity nut milk.
Proper Storage
To keep your nut milk fresh and delicious, proper storage is essential.
- Use Airtight Containers:
Store nut milk in a sealed glass jar or bottle to prevent contamination and preserve freshness. - Label and Date:
Mark the container with the preparation date so you know when to use it. - Shake Before Use:
Nut milk tends to separate naturally, so shake it well before pouring to ensure an even texture.
Enhancing Creaminess
For those who prefer extra-creamy nut milk, here are a few tricks:
- Add More Nuts:
Use a higher nut-to-water ratio, such as 1.5 cups of nuts to 4 cups of water, to achieve a richer consistency. - Blend Longer:
Allow the Vitamix to run for an additional 30 seconds to further break down the nuts. - Skip Straining:
For ultra-creamy milk, leave the pulp unstrained and blend it longer for a smooth finish. Note that this may result in a thicker beverage.
Avoiding Common Mistakes
- Not Soaking Long Enough:
Insufficient soaking can lead to gritty milk. Aim for a minimum of 8 hours, especially for harder nuts like almonds. - Overloading the Blender:
Avoid filling the Vitamix to the brim. Use the recommended nut-to-water ratio for optimal results. - Skipping Straining:
While some prefer unstrained nut milk, straining is crucial for a smoother and more appealing texture, especially for first-time drinkers.
Common Questions About Using a Vitamix for Nut Milk
When making nut milk at home, many people have questions about the capabilities of the Vitamix and how it compares to other methods. Here, we address some of the most common concerns to help you master the process with confidence.
Does the Vitamix Grind Nuts Smoothly?
Absolutely! The Vitamix is renowned for its high-speed motor and durable blades, which make quick work of grinding even the hardest nuts like almonds or hazelnuts. Unlike standard blenders that may leave behind large chunks or grit, the Vitamix ensures a smooth and creamy consistency with minimal effort.
To maximize smoothness, make sure to blend for at least 1–2 minutes and ensure the nuts are properly soaked beforehand. This softens the nuts and allows the blender to extract maximum creaminess.
Can You Skip Straining the Nut Milk?
Technically, yes you can skip the straining step if you prefer a thicker, more rustic-style nut milk. However, leaving the pulp in may result in a heavier texture that’s less versatile for recipes like lattes, cereals, or smoothies.
For those who want an ultra-creamy finish without straining, try blending the mixture for an extra minute to further break down the pulp. If you do strain the milk, don’t throw away the pulp! It can be reused in cookies, muffins, or energy balls, making the process both sustainable and cost-effective.
Is the Vitamix Easy to Clean After Making Nut Milk?
Yes, the Vitamix is incredibly easy to clean, even after making something as rich as nut milk. Follow these simple steps:
- Rinse the blender jar immediately after use to remove any residue.
- Fill it halfway with warm water and add a drop of dish soap.
- Run the Vitamix on high for 30 seconds, then rinse thoroughly.
For tougher residues, such as sticky pulp, use a soft sponge or brush. Regular cleaning prevents build-up and keeps your blender in optimal condition.
Can a Vitamix Handle Different Types of Nuts?
The versatility of the Vitamix means you can make milk from a wide variety of nuts and seeds. Whether you prefer almonds, cashews, macadamias, or even unique options like pistachios or Brazil nuts, the Vitamix handles them all with ease.
For harder nuts like almonds, longer soaking is recommended. Softer nuts, such as cashews, require minimal soaking and blend into milk more quickly. You can also mix different nuts to create custom blends, such as almond-cashew milk for a creamier flavor.
How Does Homemade Nut Milk Compare to Store-Bought?
Homemade nut milk created in a Vitamix surpasses store-bought versions in several ways:
- Freshness: Store-bought milk often contains preservatives to extend shelf life, while homemade nut milk is fresh and free of additives.
- Cost-Effectiveness: Though nuts can be pricey, making your own milk reduces costs over time compared to purchasing pre-packaged options.
- Taste and Texture: Homemade nut milk is creamier and richer because you control the nut-to-water ratio and avoid stabilizers.
Can You Make Nut Butter in a Vitamix?
Yes! The Vitamix is versatile and perfect for creating nut butter. Learn how to use leftover nuts from nut milk preparation in this keto chicken with sun-dried tomatoes recipe.
With these benefits, it’s easy to see why so many people turn to the Vitamix for their nut milk needs.

(FAQs)
Do you need a nut milk maker if you have a Vitamix?
No, you don’t need a dedicated nut milk maker if you own a Vitamix. The Vitamix is a powerful all-in-one appliance capable of blending nuts into a creamy milk consistency without the need for additional tools. With its high-speed motor and durable blades, it simplifies the process, saving you both money and counter space.
Can you blend nuts in a Vitamix?
Yes, a Vitamix is excellent for blending nuts. Whether you’re making nut milk, nut butter, or grinding nuts for recipes, the Vitamix can handle the task effortlessly. Its powerful motor crushes nuts into fine particles or smooth pastes, depending on your desired outcome.
Can I use my blender to make nut milk?
While you can use a standard blender to make nut milk, a Vitamix provides far better results. Most standard blenders struggle to achieve the same level of smoothness and creaminess as a Vitamix. Additionally, with a Vitamix, the blending process is faster and more efficient, reducing the need for extensive straining.
Can I use my Vitamix to make nut butter?
Absolutely! In addition to making nut milk, the Vitamix is perfect for creating creamy, homemade nut butters. Simply add roasted nuts to the blender and let the high-speed blades do the work. Within a few minutes, you’ll have smooth, spreadable nut butter without any additives.
How long does homemade nut milk last?
Homemade nut milk typically lasts 3–5 days when stored in an airtight container in the refrigerator. To extend its freshness, ensure the container is clean and keep the milk cold at all times. Shake well before use, as natural separation may occur.
Are there additives in store-bought nut milk?
Yes, many store-bought nut milks contain additives such as stabilizers, preservatives, and sweeteners to enhance shelf life, texture, and flavor. Making nut milk at home with a Vitamix allows you to skip these additives and enjoy a pure, healthier alternative.
Conclusion
So, can a Vitamix make nut milk? Absolutely! The Vitamix not only makes smooth and creamy nut milk but also gives you complete control over the ingredients. This means you can avoid preservatives, added sugars, and other unnecessary additives found in store-bought versions.
Whether you’re looking for a simple almond milk recipe or want to experiment with different nuts and flavors, the Vitamix makes it easy. It’s fast, reliable, and versatile, making it a valuable addition to any kitchen. With just a few steps, you can enjoy fresh, homemade nut milk that’s healthier and more delicious than anything you can buy.

Nut Milk
Ingredients
Main Ingredients
- 1 cup Nuts (e.g., almonds, cashews, hazelnuts, or walnuts) Use fresh, raw nuts for the best flavor and texture.
- 4 cups Filtered water Plus extra for soaking.
Optional Ingredients
- to taste Sweeteners (e.g., dates, honey, or maple syrup) Add for sweetness.
- 1 teaspoon Vanilla extract For flavor enhancement.
- a pinch Salt To balance the sweetness.
- a dash Cinnamon Optional, for added flavor.
Instructions
Preparation
- Soak the nuts in a bowl with water for at least 8 hours or overnight to soften and enhance creaminess.
- After soaking, drain the water and rinse the nuts thoroughly under cold water.
Blending
- Add the soaked nuts and 4 cups of filtered water to the Vitamix. Optionally, include any sweeteners or flavorings.
- Blend on low speed and gradually increase to the highest setting. Blend for 1–2 minutes until smooth and creamy.
- Adjust the consistency by adding more water for thinner milk or reducing the water for thicker milk.
Straining
- Pour the blended mixture through a nut milk bag or a fine-mesh strainer into a large bowl. Squeeze to extract all the liquid.
- Reserve the leftover nut pulp for baking or other recipes.
Finishing Touches
- Taste the milk and adjust sweetness or flavor as necessary.
- Pour the finished nut milk into an airtight container and store in the refrigerator for 3–5 days.

