There’s something truly delightful about the taste of homemade cherry jelly. This vibrant spread captures the sweetness of ripe cherries with just a hint of tanginess, making it a perfect accompaniment to toast, pastries, or even savory dishes. With a little effort, you can create a jar of cherry jelly that rivals anything store-bought—perfect for sharing or savoring at home.
Table of Contents
What is cherry jelly?
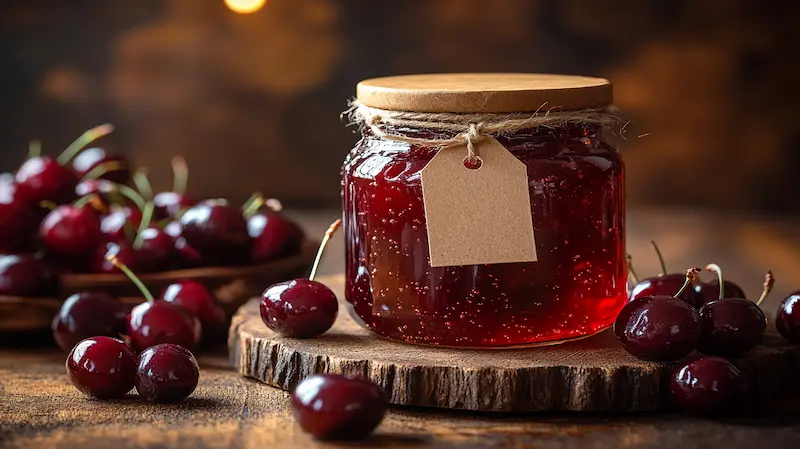
Cherry jelly recipe is a smooth, translucent preserve made by boiling cherry juice with sugar and pectin until it thickens. Unlike jam, which includes pieces of fruit, jelly is made from fruit juice, offering a glossy texture and a pure, concentrated cherry flavor.
Related Recipe: Pair your jelly with the flavors of this Apple Spice Cake Recipe for a dessert combination that’s sweet and tangy.
Why make cherry jelly at home?
Homemade cherry jelly recipe is not only more flavorful than store-bought varieties, but it also allows you to control the sweetness, ingredients, and additives. It’s a wonderful way to preserve the taste of summer cherries year-round, and the process itself is rewarding for both novice and experienced home cooks.

Ingredients Needed for Cherry Jelly
Making cherry jelly recipe requires just a few essential ingredients, but their quality is key to achieving the perfect flavor and texture. Below is a detailed breakdown of what you’ll need, as well as some optional substitutions and add-ins to customize your jelly.
Core ingredients for perfect cherry jelly
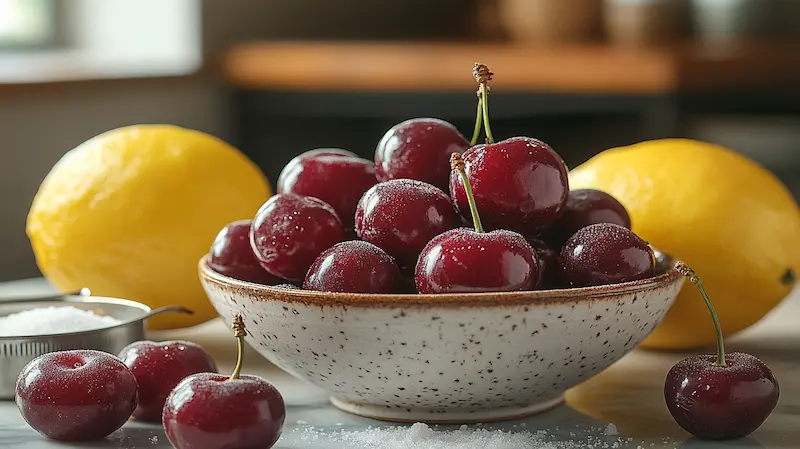
- Cherries (2 pounds): Fresh, ripe cherries are the foundation of this recipe. Sweet cherries like Bing or tart cherries like Montmorency work beautifully, depending on your flavor preference.
- Sugar (4 cups): Granulated sugar not only sweetens the jelly but also helps in preserving it. Adjust the amount to suit your taste, particularly if using sweeter cherry varieties.
- Pectin (1 box or about 6 tablespoons): Pectin is a natural thickening agent essential for achieving the jelly’s characteristic gel-like texture. Both powdered and liquid pectin work well; just follow the instructions specific to the type you use.
- Water (1 cup): Used to extract the juice from the cherries and adjust the consistency of the jelly.
- Lemon Juice (2 tablespoons): This adds acidity to balance the sweetness and helps activate the pectin for a firmer set.
Enhancement Idea: For an added depth of flavor, consider incorporating Vanilla Bean Paste into the recipe.
Substitutions and optional add-ins
- Sweetener Alternatives: For a low-sugar version, use a low-sugar pectin and reduce the sugar, or substitute with honey, agave nectar, or a sugar substitute like erythritol.
- Spices: Add a pinch of cinnamon, nutmeg, or cloves for a spiced cherry jelly recipe, perfect for the holidays.
- Alcohol: A splash of cherry liqueur, brandy, or red wine can enhance the flavor for a more sophisticated jelly.
- Mixed Fruits: Combine cherries with raspberries, blackberries, or strawberries for a mixed berry jelly. Adjust the sugar and pectin as needed for the additional fruit.
Step-by-Step Guide to Making Cherry Jelly
Making cherry jelly recipe involves a straightforward process, but attention to detail ensures a perfect result. Follow these steps for delicious, glossy jelly every time.
Preparing fresh cherries for jelly
- Wash the Cherries: Rinse the cherries thoroughly under cold water to remove dirt and debris.
- Pit the Cherries: Use a cherry pitter or a knife to remove the pits. If you don’t have a pitter, gently crush the cherries with a potato masher or a fork to help release the juice during cooking.
- Check for Ripeness: Ensure all cherries are ripe and flavorful; underripe fruit can result in a less tasty jelly.
Cooking and extracting cherry juice
- Cook the Cherries: Place the cherries in a large pot with 1 cup of water. Bring to a boil over medium heat, then reduce to a simmer. Cook for about 10-15 minutes, mashing occasionally, until the cherries are soft and have released their juice.
- Strain the Juice: Line a fine-mesh strainer or colander with cheesecloth and place it over a large bowl. Pour the cooked cherries into the strainer, allowing the juice to drip through naturally. Avoid pressing or squeezing, as this can cloud the jelly. Let it strain for 1-2 hours.
Mixing with pectin and achieving the right consistency
- Combine Juice and Sugar: Measure the cherry juice—this recipe works best with about 4 cups of juice. Add the juice to a large pot, along with sugar and lemon juice. Stir well to dissolve the sugar.
- Add Pectin: Stir in the pectin according to the package instructions. If using powdered pectin, mix it with the juice before heating. If using liquid pectin, add it after the sugar is dissolved.
- Boil the Mixture: Bring the mixture to a rolling boil over high heat, stirring constantly. Allow it to boil for 1-2 minutes, then remove from heat.
- Test for Doneness: To check if the jelly has set, place a small spoonful on a chilled plate and let it cool for a minute. If it forms a gel-like consistency, it’s ready. If not, boil it for another minute and try again.
Canning and Storage:
- Prepare Jars: Sterilize your jars and lids by boiling them in water for 10 minutes.
- Fill the Jars: Carefully ladle the hot jelly into the jars, leaving about ¼ inch of headspace. Wipe the rims clean and seal tightly with the lids.
- Process in a Water Bath: Submerge the jars in boiling water for 10 minutes to seal them properly.
- Cool and Store: Let the jars cool on a countertop. Check for proper seals before storing. Properly canned cherry jelly recipe can last up to a year in a cool, dark place.

Cherry Jelly Variations
Cherry jelly is incredibly versatile and can be customized in many ways to suit different tastes and dietary preferences. Here are some popular variations to try:
Low-sugar cherry jelly Recipe
For those watching their sugar intake, low-sugar cherry jelly recipe is a fantastic alternative. Here’s how to adjust the recipe:
- Use Low-Sugar Pectin: Opt for pectin specifically designed for low-sugar or sugar-free recipes.
- Sweetener Substitutes: Replace some or all of the sugar with honey, stevia, or erythritol. These alternatives work well without compromising the jelly’s texture.
- Enhance the Natural Flavors: Add a splash of lemon juice or zest to emphasize the cherries’ natural tartness, reducing the need for added sweetness.
Spiced cherry jelly for a holiday twist
Infuse warm spices into your cherry jelly recipe for a festive flavor:
- Cinnamon and Cloves: Simmer a cinnamon stick and a few cloves with the cherries during the cooking process. Remove them before straining the juice.
- Nutmeg and Allspice: Add a pinch of nutmeg or allspice for additional depth.
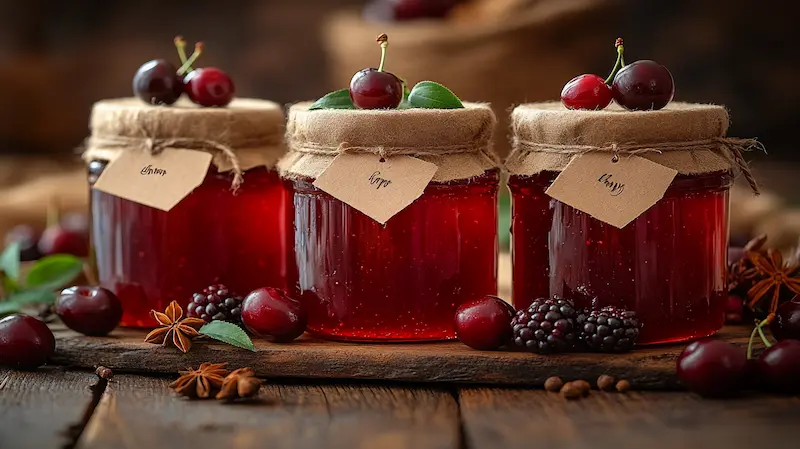
- Perfect for Gifts: Package the spiced cherry jelly in decorative jars for a thoughtful holiday present.
Mixed berry jelly with cherries
Combine cherries with other berries to create a unique and flavorful jelly:
- Berry Combinations: Mix cherries with raspberries, blueberries, or blackberries for a tangy twist.
- Adjust Pectin and Sugar: Depending on the berries used, you may need to adjust the sugar or pectin amount to achieve the desired set.
- Bright, Fruity Flavor: This variation is perfect for topping pancakes, waffles, or ice cream.
Tips and Tricks for Perfect Cherry Jelly Recipe
Mastering the art of jelly-making requires a few insider tips to ensure your cherry jelly recipe turns out perfectly every time.
Avoiding common jelly-making mistakes
- Jelly Not Setting: Ensure you use the correct type and amount of pectin. Boil the jelly mixture at a rolling boil to activate the pectin fully.
- Cloudy Jelly: Avoid pressing or squeezing the cooked cherries during straining. Let gravity do the work for a clear, glossy jelly.
- Overcooked Jelly: Watch the boiling process carefully. Overcooking can cause the jelly to become too thick or lose its vibrant color.
Best practices for canning and storage
- Use Sterile Equipment: Always sterilize jars and lids to prevent contamination and ensure long-lasting preserves.
- Proper Sealing: Check for a vacuum seal after cooling. If the lid doesn’t pop when pressed, it’s sealed correctly.
- Storage Conditions: Store sealed jars in a cool, dark place. Refrigerate opened jars and use them within 2-3 weeks.
How to achieve a perfect jelly texture
- Test Consistency: Use the chilled plate method to test the jelly’s set before canning.
- Balance Liquid and Pectin: Measure the liquid and pectin precisely. Too much liquid results in runny jelly, while too much pectin can make it rubbery.
- Patience is Key: Jelly may take up to 24 hours to fully set after cooling. Don’t panic if it seems runny at first.
Creative Uses for Cherry Jelly Recipe
Cherry jelly is more than just a spread for toast. Here are some creative ways to enjoy and share your homemade jelly:
Using cherry jelly in desserts
- Filling for Pastries: Use cherry jelly as a filling for tarts, donuts, or turnovers.
- Glaze for Cakes: Warm the jelly slightly and brush it over cakes or cheesecakes for a shiny, flavorful glaze.
- Swirl in Yogurt or Ice Cream: Add a spoonful to plain yogurt or vanilla ice cream for a quick dessert upgrade.
Pairing cherry jelly with savory dishes
- Glaze for Meats: Brush cherry jelly recipe onto pork chops, chicken, or ham for a sweet and tangy glaze.
- Cheese Pairings: Serve cherry jelly alongside soft cheeses like Brie or cream cheese for a crowd-pleasing appetizer.
- Sandwich Spread: Add it to turkey or ham sandwiches for a touch of sweetness.
Fun gift ideas with homemade cherry jelly Recipe
- Decorative Jars: Package the jelly in small jars with personalized labels and ribbon for special occasions.
- Gift Sets: Combine cherry jelly with homemade bread, cookies, or a bottle of wine for a thoughtful gift basket.
- Holiday Treats: Share jars of spiced cherry jelly during the holiday season for a festive treat.
💡For more recipes, follow me on Facebook and Pinterest.
FAQs About Cherry Jelly Recipe
Conclusion
Cherry jelly is a timeless preserve that captures the essence of ripe cherries in every spoonful. With its sweet and tangy flavor, it’s perfect for spreading on toast, enhancing desserts, or even complementing savory dishes. By following this guide, you can master the art of jelly-making and create a treat that will delight your taste buds and impress your family and friends. Give it a try and experience the joy of homemade cherry jelly!

Cherry Jelly
Ingredients
Core Ingredients
- 2 pounds Cherries Fresh, ripe cherries (sweet or tart)
- 4 cups Sugar Granulated sugar, adjust to taste
- 1 box Pectin About 6 tablespoons; follow package instructions
- 1 cup Water Used to extract juice from cherries
- 2 tablespoons Lemon Juice Adds acidity to balance sweetness
Instructions
Preparation
- Wash the cherries thoroughly under cold water.
- Pit the cherries using a cherry pitter or a knife.
- Ensure all cherries are ripe for the best flavor.
Cooking and Extracting Cherry Juice
- Place the cherries in a large pot with 1 cup of water. Bring to a boil and simmer for 10-15 minutes.
- Mash the cherries occasionally to help release the juice.
- Strain the cooked cherries through cheesecloth, allowing the juice to drip through naturally for 1-2 hours.
Mixing and Boiling
- Measure the cherry juice and add it to a large pot along with sugar and lemon juice. Stir to dissolve the sugar.
- Stir in pectin as per package instructions and bring to a rolling boil.
- Boil for 1-2 minutes, then remove from heat.
- Test for doneness by placing a spoonful on a chilled plate; it should gel. If not, boil for another minute.
Canning and Storage
- Sterilize jars by boiling them for 10 minutes.
- Ladle hot jelly into the jars, leaving ¼ inch headspace, and seal with lids.
- Process jars in boiling water for 10 minutes to seal.
- Allow to cool, checking seals before storage. Properly canned jelly can last up to a year.

