
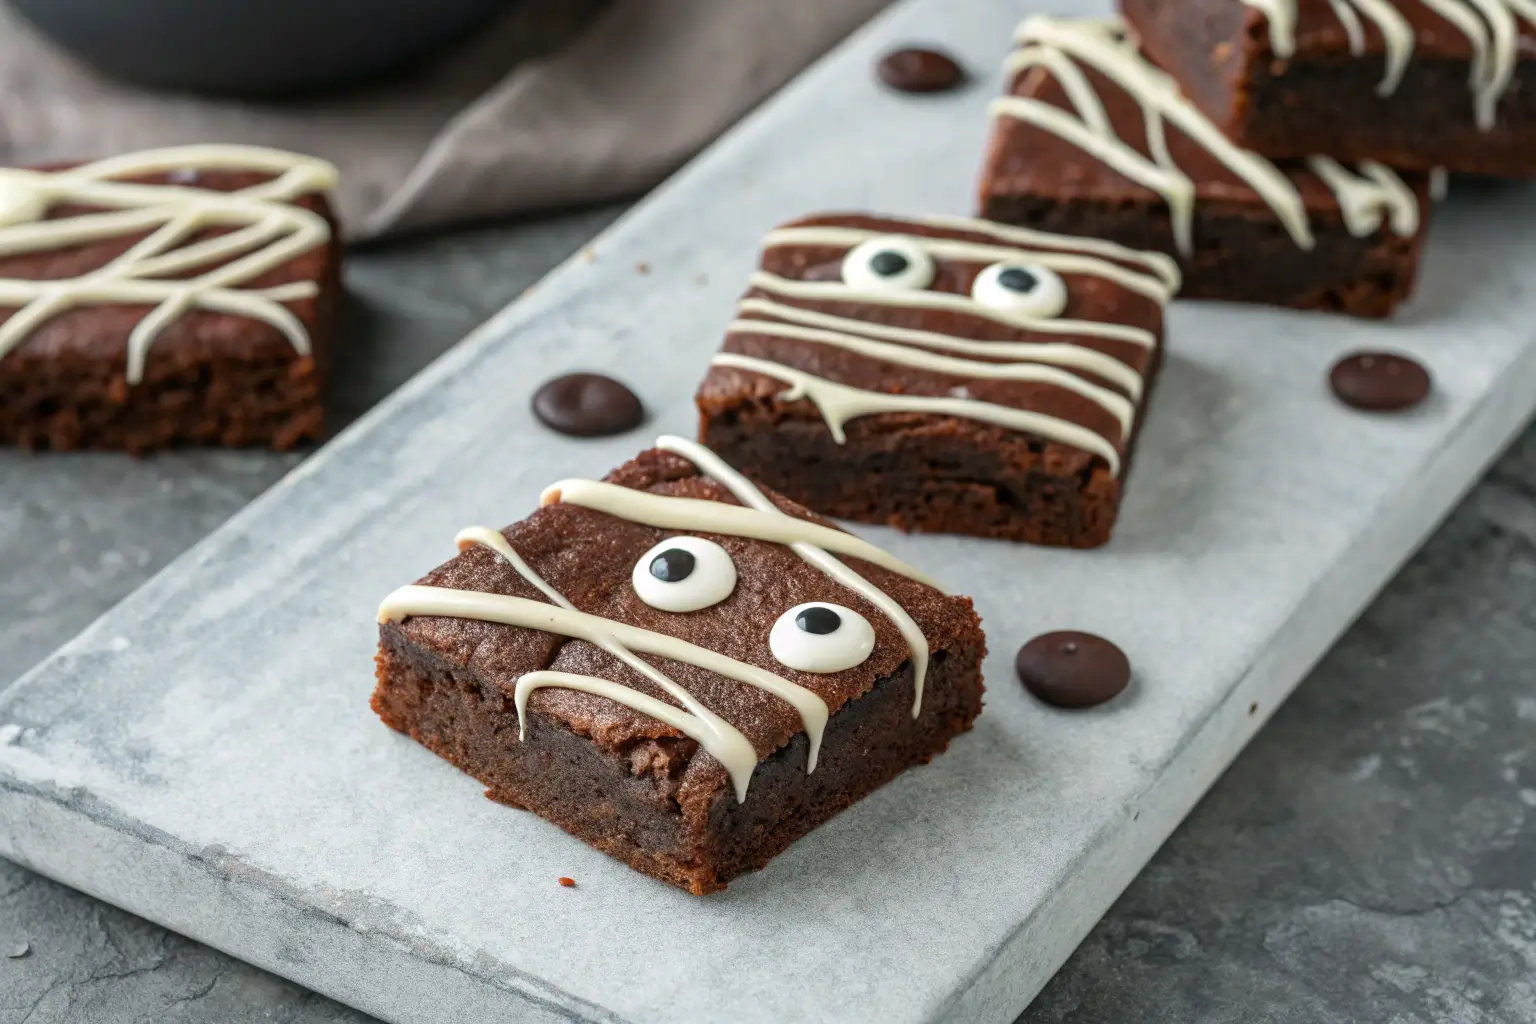
Halloween Brownies are a delightful way to celebrate the spooky season, and these Mummy Brownies take the cake, or should I say, the brownie! I remember one Halloween when my son, Jake, insisted on dressing up as a mummy while I baked treats. It was chaos in the kitchen, but the laughter made the mess worth it.
Table of Contents
Why You’ll Love It
- They’re fun and festive for any Halloween gathering.
- Mummy Brownies are easy to make and even easier to eat.
- The combination of rich chocolate and spooky decoration is a crowd-pleaser.
Pure Comfort
These brownies are pure comfort food, perfect for cozying up on a chilly October evening. Each bite is fudgy and decadent, giving you that warm feeling inside, especially when shared with family and friends.
What You Need
- 2 sticks 1 cup unsalted butter – softened
- 400 g 2 cups granulated sugar – for sweetness
- 4 4 large eggs – room temperature
- 1 tsp 1 teaspoon vanilla extract – for flavor
- 120 g 1 cup all-purpose flour – sifted
- 100 g 1 cup unsweetened cocoa powder – for richness
- 1 tsp 1 teaspoon baking powder – for lift
- 1/2 tsp 1/2 teaspoon salt – to balance flavors
- 6 oz 1 cup white chocolate chips – for mummy wraps
- 4 oz 1/2 cup black icing – for eyes and decoration
Time to Cook
Prep: 20 minutes | Cook: 30 minutes | Total: 50 minutes | Difficulty: easy | Make-Ahead: Yes, you can make these brownies a day in advance.
Steps to Make It
- Preheat your oven to 350 °F (175 °C). Grease a 9×13 inch baking pan with butter or cooking spray. This step is crucial for easy removal later.
- In a large bowl, cream together the softened butter and granulated sugar until light and fluffy. You’ll know it’s ready when the mixture looks pale and airy, which should take about 3 minutes.
- Add the eggs one at a time, mixing well after each addition. Then stir in the vanilla extract. The batter should be smooth and glossy, a sign that it’s coming together nicely.
- In another bowl, whisk together the flour, cocoa powder, baking powder, and salt. Gradually add this dry mixture to the wet ingredients, stirring until just combined. The batter will be thick and rich, perfect for brownies.
- Pour the brownie batter into the prepared pan and spread it evenly. Bake in the preheated oven for 25 to 30 minutes, or until a toothpick inserted in the center comes out with a few moist crumbs. Your kitchen will smell heavenly during this time.
- Once baked, let the brownies cool completely in the pan. This is key for cutting them into neat squares later. Patience is a virtue here, I promise it’s worth it!
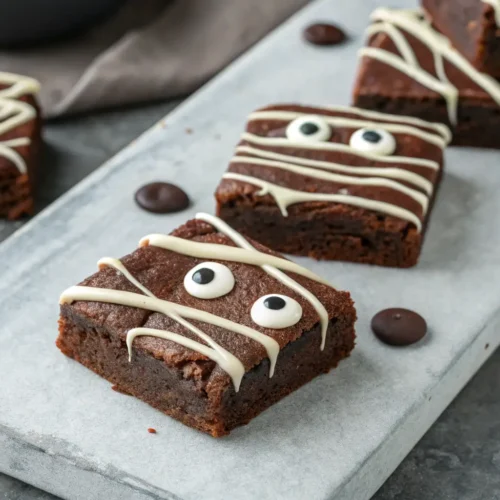
- Melt the white chocolate chips in a microwave-safe bowl, heating in 30-second intervals and stirring in between until smooth. Drizzle the melted chocolate over the cooled brownies to create mummy wraps. Get creative with the drizzling!
- Use the black icing to add little eyes on your mummies. Just a dot will do! Your Mummy Brownies are now ready to be served.
Make It Perfect
- For a richer flavor, use dark chocolate cocoa powder instead of regular.
- If you don’t have white chocolate chips, you can substitute with melted vanilla candy melts.
- Make sure the brownies are completely cool before cutting; this helps avoid crumbling.
Mix It Up
- Try adding chopped nuts or candy corn for a fun twist.
- For a gluten-free version, substitute all-purpose flour with a gluten-free blend.
Perfect Partners
💡 For more recipes, follow me on Facebook and Pinterest.
FAQs
Can I make these brownies ahead of time?
Absolutely! You can make them a day in advance and store them in an airtight container.
How do I store leftovers?
Store any leftovers in an airtight container at room temperature for up to 3 days.
Can I freeze these brownies?
Yes! Wrap them tightly in plastic wrap and freeze for up to 2 months. Thaw in the fridge before serving.
What can I use instead of white chocolate chips?
You can use vanilla candy melts or even drizzle with melted marshmallows.
How can I make these brownies more festive?
Add colorful sprinkles or edible glitter for an extra spooky touch!
Conclusion
These Halloween Brownies, especially the Mummy Brownies, are sure to be a hit at your next spooky gathering. With their rich chocolate flavor and fun decorations, they bring joy to both kids and adults alike. So, gather your family and get baking!
Halloween Brownies, the Elegant Way with Mummy Brownies
Equipment
- 9×13 inch baking pan
Ingredients
Brownie Ingredients
- 1 cup sticks unsalted butter softened
- 2 cups g granulated sugar for sweetness
- 4 large eggs room temperature
- 1 tsp vanilla extract for flavor
- 1 cup g all-purpose flour sifted
- 1 cup g unsweetened cocoa powder for richness
- 1 tsp baking powder for lift
- 1/2 tsp salt to balance flavors
- 1 cup oz white chocolate chips for mummy wraps
- 1/2 cup oz black icing for eyes and decoration
Instructions
- Preheat your oven to 350 °F (175 °C). Grease a 9×13 inch baking pan with butter or cooking spray. This step is crucial for easy removal later.
- In a large bowl, cream together the softened butter and granulated sugar until light and fluffy. You’ll know it’s ready when the mixture looks pale and airy, which should take about 3 minutes.
- Add the eggs one at a time, mixing well after each addition. Then stir in the vanilla extract. The batter should be smooth and glossy, a sign that it’s coming together nicely.
- In another bowl, whisk together the flour, cocoa powder, baking powder, and salt. Gradually add this dry mixture to the wet ingredients, stirring until just combined. The batter will be thick and rich, perfect for brownies.
- Pour the brownie batter into the prepared pan and spread it evenly. Bake in the preheated oven for 25 to 30 minutes, or until a toothpick inserted in the center comes out with a few moist crumbs. Your kitchen will smell heavenly during this time.
- Once baked, let the brownies cool completely in the pan. This is key for cutting them into neat squares later. Patience is a virtue here, I promise it’s worth it!
- Melt the white chocolate chips in a microwave-safe bowl, heating in 30-second intervals and stirring in between until smooth. Drizzle the melted chocolate over the cooled brownies to create mummy wraps. Get creative with the drizzling!
- Use the black icing to add little eyes on your mummies. Just a dot will do! Your Mummy Brownies are now ready to be served.