
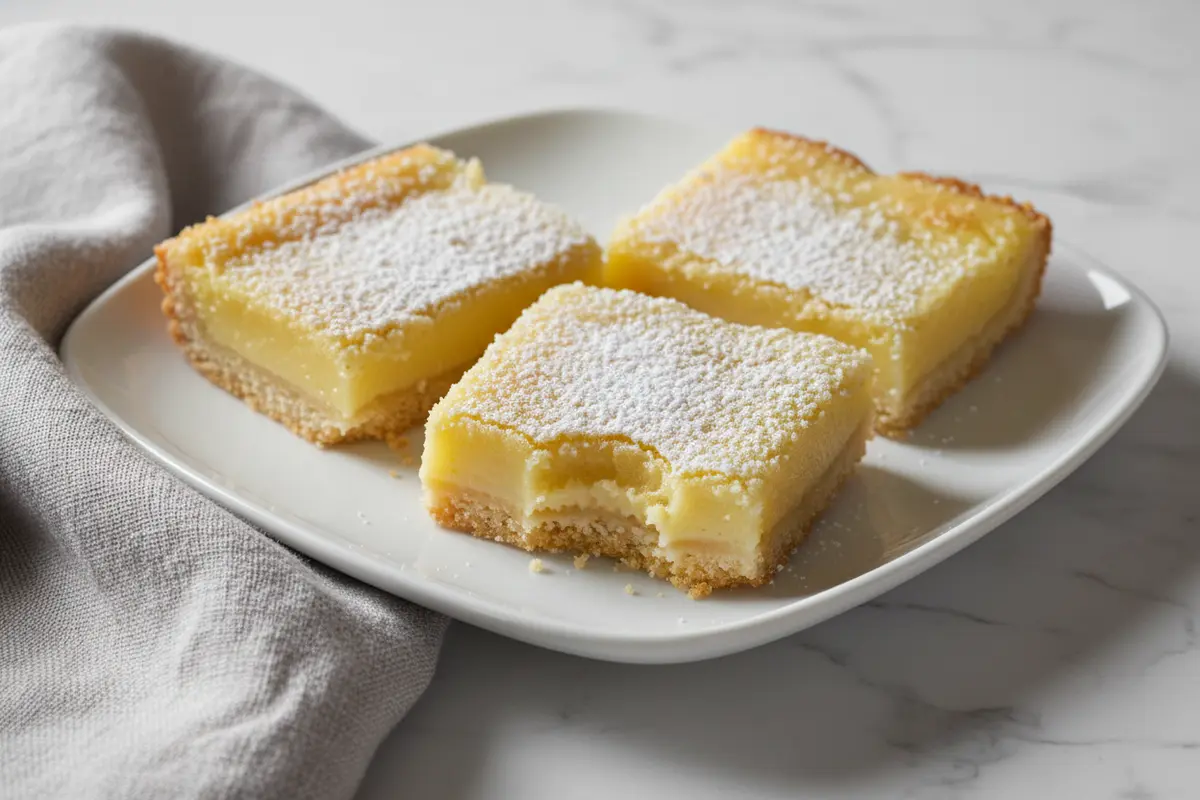
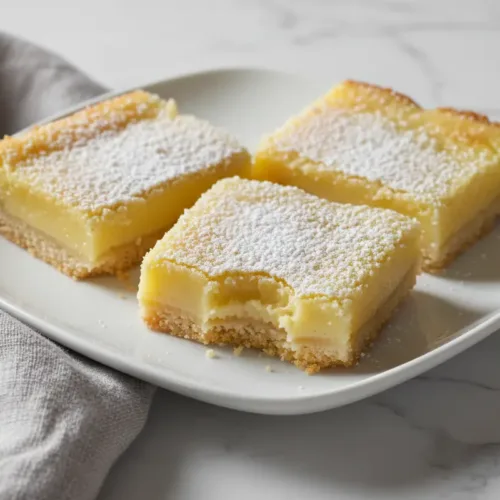
A thick, creamy lemon filling meets a buttery shortbread crust in these irresistible lemon bars—and you only need seven simple ingredients to pull them off.
⚡ Quick Recipe Snapshot: Prep: 10 min | Cook: 40 min | Chill: 3 hr | Total: 3 hr 50 min | Difficulty: Medium | Cuisine: American | Servings: About 24 bars
Why This Recipe Works
- Foolproof crust: A low oven temperature (325°F) keeps the shortbread golden and tender, never tough or over-baked—the secret so many home bakers miss.
- Extra-thick filling: Fresh lemon juice and a high egg-to-flour ratio create that signature creamy, custardy center that makes these bars unforgettable.
- Make-ahead magic: These actually taste better after chilling, making them perfect for picnics, showers, or bake sales without last-minute stress.
Grocery List (& Shortcuts)
For the Crust:
- 1 cup (16 Tbsp; 226g) unsalted butter, melted
- ½ cup (100g) granulated sugar
- 2 teaspoons pure vanilla extract
- ½ teaspoon salt
- 2 cups + 2 Tablespoons (265g) all-purpose flour (spooned & leveled)
For the Lemon Filling:
- 2 cups (400g) granulated sugar
- 6 Tablespoons (46g) all-purpose flour
- 6 large eggs
- 1 cup (240ml) fresh lemon juice (about 4 lemons)
- 2 teaspoons fresh lemon zest (optional, but recommended)
For Serving:
- Confectioners’ sugar for dusting (optional)
Smart Shortcut: Don’t have fresh lemons on hand? Bottled lemon juice works in a pinch, though fresh juice gives you that bright, authentic flavor that makes these bars truly shine.
Easy Swaps: For a gluten-free version, use a 1:1 gluten-free flour blend in place of all-purpose flour in both the crust and filling. The texture will be slightly different but still delicious.
Step-by-Step
Prep the Pan
Preheat your oven to 325°F. Line a 9×13-inch glass baking pan (glass is important—metal conducts heat too aggressively) with parchment paper, leaving an overhang on two sides so you can lift the finished bars out easily. This makes cutting so much cleaner.
Make & Bake the Crust
Combine the melted butter, ½ cup sugar, vanilla, and salt in a medium bowl. Stir in the flour until the dough comes together—it’ll be thick and slightly crumbly, which is exactly right. Press this mixture firmly and evenly into your prepared pan. Bake for 20–22 minutes until the edges are lightly golden.
Remove the crust from the oven and, while it’s still warm, poke tiny holes all over the surface with a fork (don’t go all the way through). This simple step helps the filling grip the crust and prevents it from sliding around. Trust me on this one.
Make the Filling
Sift together the 2 cups sugar and 6 Tablespoons flour in a large bowl to break up any lumps. Whisk in the eggs until smooth, then add the lemon juice and zest (if using). Whisk until completely combined—you want a smooth, pourable custard.
Bake the Bars
Pour the lemon filling over the warm crust. Bake for 22–26 minutes. The center should look set but still slightly jiggly when you give the pan a gentle tap with an oven mitt. A little jiggle is your friend here—it means the filling will stay creamy as it cools.
Cool & Chill
Cool the bars completely at room temperature for about 2 hours, then refrigerate for 1–2 more hours until well chilled. These bars taste best served cold, and the flavor actually deepens as they sit.
Cut & Serve
Lift the parchment paper out using the overhang, then dust generously with confectioners’ sugar. Cut into squares with a sharp knife, wiping the blade clean between cuts for neat edges. Serve chilled and watch them disappear.
Nadia’s Tips
- The fork trick is non-negotiable: Poking holes in the warm crust before adding the filling is the difference between bars that slide around and bars that stay perfectly layered. It’s a tiny step that makes a huge difference.
- Don’t skip the chill time: I know waiting is hard, but these bars need those 3 hours to set properly and develop their best flavor. Warm lemon bars are mushy; chilled ones are perfect.
- Glass pan, always: Metal pans conduct heat too quickly and can over-bake the edges before the center is done. Glass gives you even, gentle baking every time.
Storage & Leftovers
Refrigerator: Cover and store leftover lemon bars in an airtight container for up to 1 week. They actually taste better as they sit, so don’t hesitate to make them a day or two ahead.
Freezer: Cut the cooled bars (without confectioners’ sugar) into squares and place on a baking sheet. Freeze for 1 hour, then wrap each bar individually in aluminum foil or plastic wrap. Transfer to a freezer bag or container and freeze for up to 3–4 months. Thaw in the refrigerator, then dust with confectioners’ sugar before serving.
Can I use bottled lemon juice instead of fresh?
Yes, bottled juice works, but fresh lemon juice gives you brighter, more authentic flavor. If you do use bottled, make sure it’s pure lemon juice with no added preservatives.
Why are my lemon bars too jiggly in the center?
You may have pulled them out too early. The center should be set but still have a tiny bit of movement when you tap the pan. If they’re too jiggly, bake for another 2–3 minutes and test again.
Can I make these bars ahead for an event?
Absolutely! These are perfect make-ahead desserts. Bake them 2–3 days in advance, store them covered in the refrigerator, and dust with confectioners’ sugar just before serving. You can even freeze them for up to 4 months.
What’s the best way to get clean, neat squares?
Use a sharp knife and wipe it clean between each cut. Some bakers dip their knife in hot water and wipe it dry—this helps too. Take your time and don’t rush the cutting.
💡 Love this recipe? Follow Blink Recipes on Pinterest.
Save This Recipe & Tell Me How It Went!
These lemon dessert bars are the kind of recipe you’ll make again and again—for spring brunches, summer picnics, or just because you’re craving something bright and citrusy. I’d love to hear how yours turn out! Drop a comment below and let me know if you tried any fun variations or discovered your own shortcut. And please save this recipe so you can find it whenever that lemon bar craving hits.
Let’s make cooking fun again maybe even a little magical!
Happy cooking!
Nadia
The Best Lemon Bars Recipe With Just 7 Ingredients
Equipment
- 9×13-inch glass baking pan
- medium bowl
- Large bowl
Ingredients
Main
- 1 cup unsalted butter melted
- ½ cup granulated sugar
- 2 tsp pure vanilla extract
- ½ tsp salt
- 2 cups + 2 Tablespoons all-purpose flour spooned & leveled
- 2 cups granulated sugar
- 6 Tbsp all-purpose flour
- 6 large eggs
- 1 cup fresh lemon juice (about 4 lemons)
- 2 tsp fresh lemon zest optional, but recommended
confectioners’ sugar
Instructions
Instructions
- Preheat your oven to 325°F. Line a 9×13-inch glass baking pan with parchment paper, leaving an overhang on two sides.
- Combine the melted butter, ½ cup sugar, vanilla, and salt in a medium bowl. Stir in the flour until the dough comes together.
- Press this mixture firmly and evenly into your prepared pan. Bake for 20–22 minutes until the edges are lightly golden.
- Poke tiny holes all over the surface with a fork while the crust is still warm. This helps the filling grip the crust.
- Sift together the 2 cups sugar and 6 Tablespoons flour in a large bowl. Whisk in the eggs until smooth, then add the lemon juice and zest.
- Whisk until completely combined to create a smooth, pourable custard. Pour the lemon filling over the warm crust.
- Bake for 22–26 minutes until the center looks set but still slightly jiggly when tapped gently.
- Cool the bars completely at room temperature for about 2 hours, then refrigerate for 1–2 more hours until well chilled.
- Lift the parchment paper out using the overhang, dust generously with confectioners’ sugar, and cut into squares.